
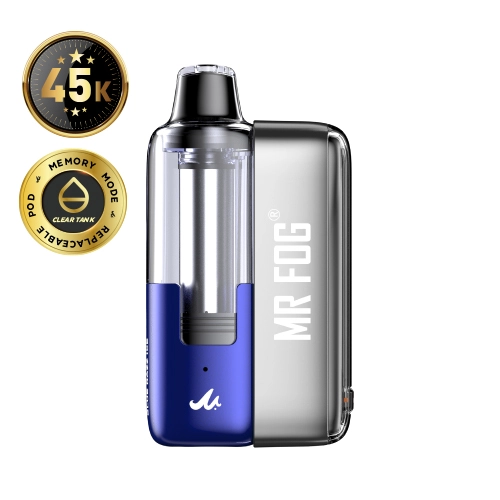
 SWITCH POD
 AURA
AURA NOVA Apple Steezy
 NOVA Banana Steezy
 NOVA Popup Series
 NOVA Bubble Gang
 NOVA Lemon Steezy
 SWITCH POD
 AURA
AURA NOVA Series
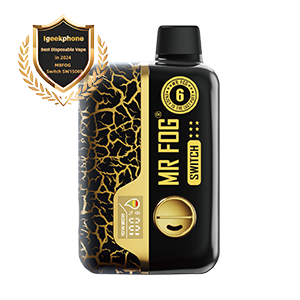 SWITCH 15000
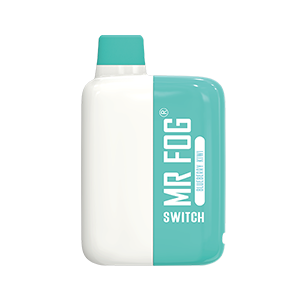 SWITCH 5500
 Blue Razz Steezy
 Mellow Man
 Apple Steezy
 Banana Steezy
 Berry Steezy
 DRT
DRT Nicotine Pouches
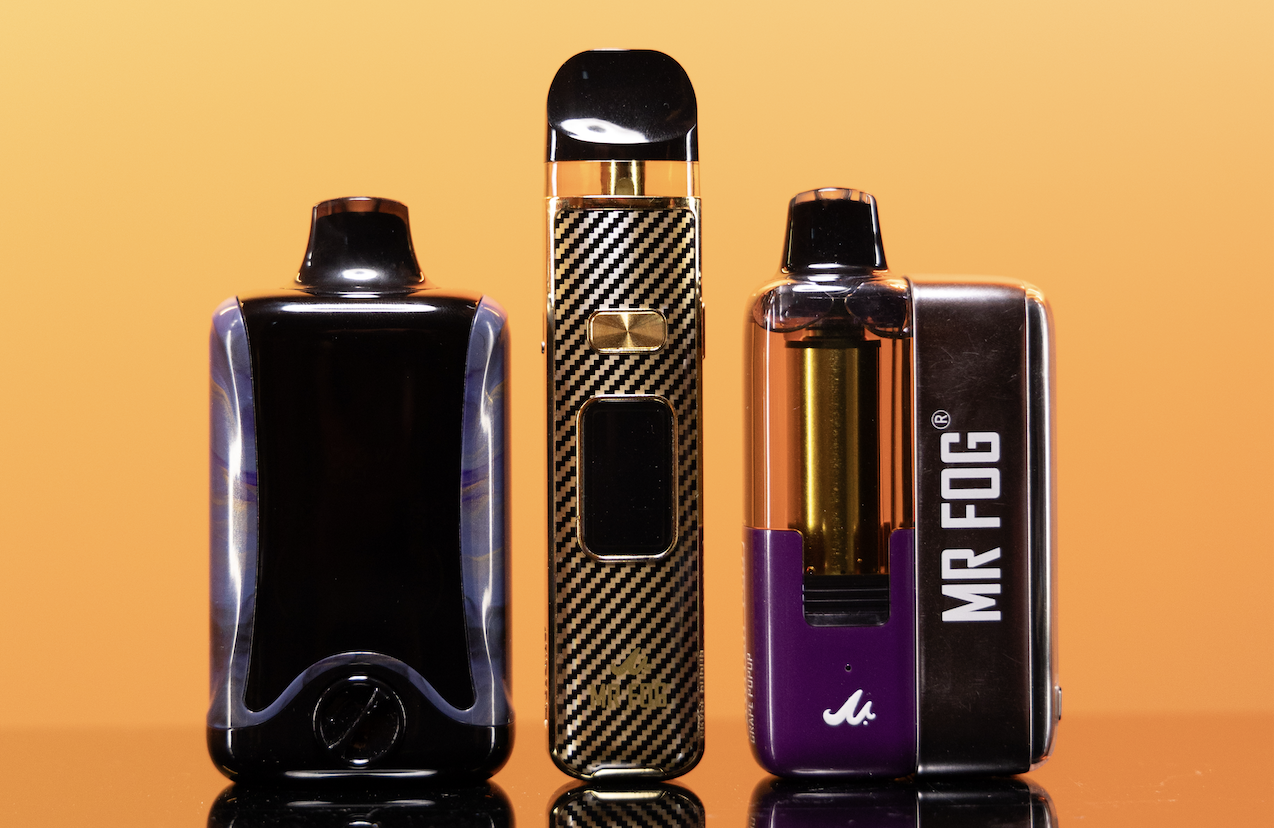
If you have ever taken a harsh first puff from a brand new coil, you already know why priming matters. A burnt hit can ruin the flavour immediately, and it can also shorten coil life. The good news is that this problem is easy to prevent. Once you learn how to prime a vape coil, you can get smooth flavour from the start, reduce dry hits, and make your coils last longer.
This guide is written for adult users in Canada. It is simple, step by step, and easy to follow. It also stays focused on MR FOG only.
Before we begin, here are two Canada reminders.
In Canada it is illegal to sell or provide vaping products to anyone under 18, and some provinces set the age higher. (canada.ca)
Canada also limits nicotine concentration in vaping products sold legally to 20 mg/mL. (laws-lois.justice.gc.ca)
Now let us get into the main skill that saves coils and saves money.
What priming means in plain language
A vape coil contains cotton. The cotton must be fully soaked with vape liquid before the coil heats up. If the cotton is not saturated and you heat it, it can scorch. Once cotton is scorched, the burnt taste usually does not go away, even if you add more liquid later.
So priming is simply making sure the cotton is fully wet before you vape.
Many beginners think priming is optional. In reality, it is one of the most important habits you can learn. It helps you avoid burnt hits and it helps your coil last longer.
Why a new coil can taste burnt
If a new coil tastes burnt, it is usually because the cotton was not ready. There are a few common causes.
You vaped immediately after filling
You took long or hard puffs on the first few hits
You started at power that was too high
The liquid did not reach the cotton evenly yet
The key point is simple. Your goal is to let liquid soak into every part of the cotton before the coil heats.
Tools you need
You do not need special equipment. You only need three things.
Your MR FOG device and the coil or pod
Your vape liquid
A few minutes of patience
That is it.
Step by step for pod devices
Many beginners use pods because they are easy. Still, pods can burn quickly if you do not wait long enough. That is why people search for prime coil pod.
Here is the easiest method.
Step 1
Install the pod or coil correctly
Make sure the pod is seated properly and the contacts look clean and dry.
Step 2
Fill slowly and carefully
Do not overfill. Also avoid getting liquid into the airflow area.
Step 3
Wait for the cotton to soak
This is where most mistakes happen. Do not rush. If you are wondering how long to let a coil soak, a safe beginner rule is ten minutes for a new pod or coil. Some setups may be ready sooner, but ten minutes is an easy habit that prevents problems.
Step 4
Take a few gentle puffs without rushing
After the soak time, take a few small puffs. Puff gently and leave a few seconds between puffs. This helps liquid keep up with the coil.
Step 5
Keep your first session calm
For the first few minutes, avoid long puffs and avoid chain puffing. As a result, the cotton stays fully saturated and the coil settles in smoothly.
If you follow this routine, you will learn how to prime a vape coil in a way that works for most pods.
Step by step for tank devices
Some users prefer tanks for flexibility. Tanks can also burn a new coil if the cotton is not saturated. That is why people search for prime coil tank.
Here is a simple method.
Step 1
Install the coil and check seals
Make sure the coil is screwed in properly. Confirm that seals are seated and everything feels snug.
Step 2
Add a few drops to the cotton openings
If your coil has visible cotton ports, you can add a few drops of liquid directly to the cotton. Do not flood it. The goal is to pre wet, not to drown the coil.
Step 3
Fill the tank
Fill carefully and leave a little air space at the top.
Step 4
Let it rest
Again, if you are asking how long to let a coil soak, use the same beginner rule of ten minutes. Thicker liquid can take longer, so do not feel bad about waiting.
Step 5
Start gently with airflow and puffs
Open airflow to a comfortable level and take gentle puffs. Do not rush.
This routine is a reliable way to prevent dry cotton on the first heat up.
Starting power and comfort
Many burnt hits happen because the power is too high at the beginning. Even if the cotton is soaked, a brand new coil needs a short break in period.
If you are searching for the best wattage to start new coil, the simplest answer is this.
Start low and increase slowly.
If your device lets you adjust power, begin at the low end of the coil recommended range. Use short puffs for the first several minutes. Then, increase little by little until flavour and warmth feel right.
If your device does not let you adjust wattage, you can still control heat by puff style. Take shorter puffs at first and pause between puffs.
The first hour matters most
Priming is not only about the waiting time. It is also about how you treat the coil during the first hour.
Here are simple habits that protect a fresh coil.
Do not chain puff
Keep the pod at a healthy liquid level
Take shorter puffs
Give the cotton time to re soak between puffs
These habits are especially important if you use sweet flavours, because sweeteners can leave residue faster and change coil performance over time.
Common priming mistakes and how to avoid them
Mistake 1
Vaping immediately after filling
Fix
Wait the full soak time
Mistake 2
Taking very long puffs on the first hits
Fix
Take gentle puffs for the first few minutes
Mistake 3
Starting too hot
Fix
Use the lowest comfortable power at first, then increase slowly
Mistake 4
Letting the pod run low
Fix
Refill before the liquid drops too far, because low liquid can expose cotton to air
Mistake 5
Not checking the pod seating
Fix
Re seat the pod and wipe any condensation from contacts
These fixes are easy, and they prevent most new coil problems.
What to do if you already got a burnt taste
Sometimes it happens. If a new coil tastes burnt, try these steps right away.
Stop vaping for a few minutes
Check liquid level and refill if needed
Let it soak again for ten minutes
Take very gentle puffs
If the burnt taste disappears, the cotton was likely only dry temporarily. However, if the burnt taste stays strong, the cotton may be scorched. In that case, the best move is to replace the coil or pod and prime again carefully. It is frustrating, but it is also a quick lesson that saves many coils in the future.
A simple routine you can repeat every time
If you want a no stress habit, use this routine every time you install a new pod or coil.
Fill carefully
Wait ten minutes
Start with gentle puffs
Increase warmth slowly
Keep liquid above low level
Once this becomes your normal routine, you will almost never deal with a burnt first puff again. More importantly, you will truly know how to prime a vape coil in a repeatable way.
Canada friendly reminders for better results
Because Canada limits nicotine concentration to 20 mg per mL, many users focus on comfort and consistency rather than trying to use very high strength liquids. (laws-lois.justice.gc.ca)
Priming helps comfort because it reduces harshness and it keeps flavour stable.
Also remember that vaping products are intended for adults. Follow local age requirements and buy from reputable Canadian sellers. (canada.ca)
 SWITCH POD
 AURA
AURA NOVA Apple Steezy
 NOVA Banana Steezy
 NOVA Popup Series
 NOVA Bubble Gang
 NOVA Lemon Steezy
 SWITCH POD
 AURA
AURA NOVA Series
 SWITCH 15000
 SWITCH 5500
 Blue Razz Steezy
 Mellow Man
 Apple Steezy
 Banana Steezy
 Berry Steezy
 DRT
DRT Nicotine Pouches